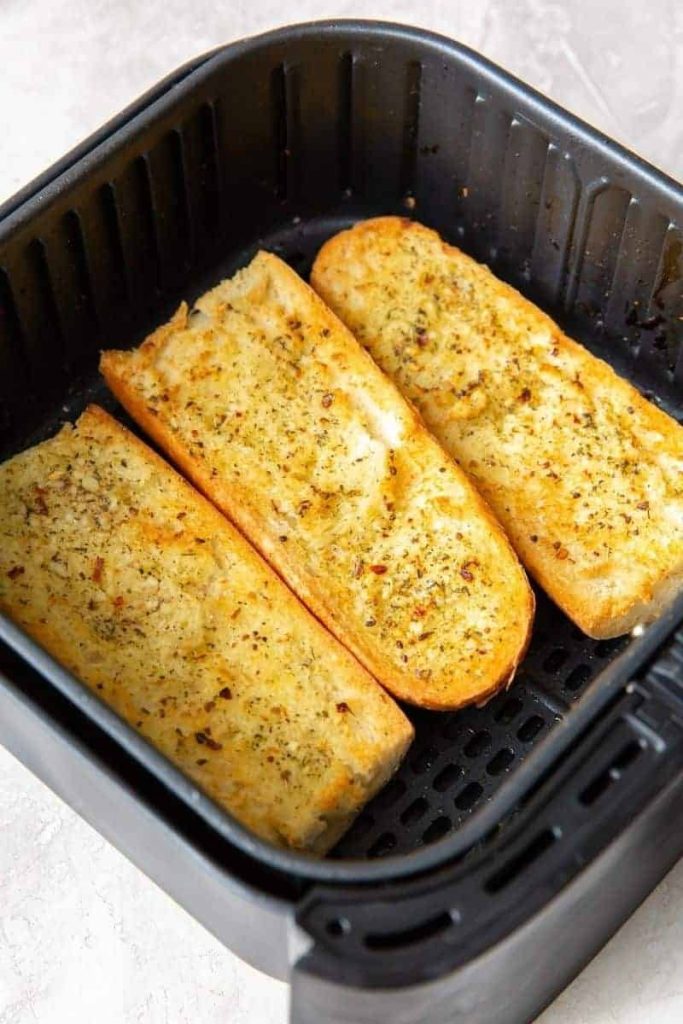
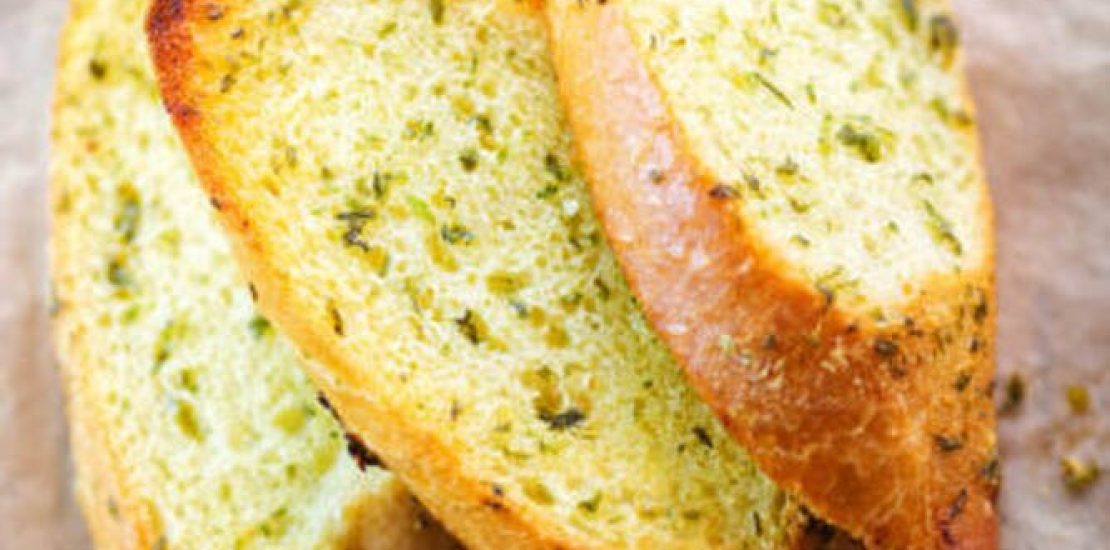
Who doesn’t love a slice of crispy, golden, and aromatic garlic bread?
Whether it’s served as a side dish, a snack, or an appetizer, garlic bread has a way of making any meal better.
But what if you could make it without turning on the oven?
That’s where the air fryer comes in! In this article, we’ll show you how to make the perfect Air Fryer Garlic Bread Recipe that’s crispy on the outside, soft on the inside, and bursting with flavor.
Get ready to learn an easy, foolproof way to satisfy your garlic bread cravings!
Air fryers have revolutionized the way we cook, and garlic bread is no exception. But why choose an air fryer over traditional methods?
The answer lies in its speed and efficiency. Unlike the oven, which takes time to preheat, the air fryer heats up almost instantly,
making it a faster option. Plus, it uses hot air to cook, which means your garlic bread will be crispier without needing as much oil.
Imagine the difference between cooking garlic bread in a hot oven and frying it in a pan of oil. The air fryer merges the best of both worlds,
giving you crispy edges and a soft center with less grease.
Ingredients for Air Fryer Garlic Bread

Before you start, gather the following simple ingredients:
- Bread: French baguette, Italian loaf, or even thick slices of regular bread
- Butter: Softened, to ensure easy spreading
- Garlic: Freshly minced for the best flavor
- Parsley: Chopped, for a touch of color and extra flavor
- Salt: A pinch to taste
- Optional: Parmesan cheese, red pepper flakes, or mozzarella for variations
These ingredients are all easily customizable based on your preference. If you love extra garlicky bread, add more garlic. Want it cheesy? Sprinkle on some mozzarella or Parmesan.
Step-by-Step Instructions
- Prepare the Garlic Butter Mixture:
- Mix the softened butter with minced garlic, salt, and chopped parsley in a bowl.
- Spread the Mixture on the Bread:
- Cut your bread into slices or halves, and generously spread the garlic butter mixture over each piece.
- Preheat the Air Fryer:
- Preheat your air fryer to 350°F (175°C). This ensures even cooking.
- Place the Bread in the Air Fryer:
- Arrange the bread slices in the air fryer basket in a single layer, making sure they don’t overlap.
- Cook the Garlic Bread:
- Cook for 5-7 minutes, or until the bread is golden and crispy on the edges.
- Serve and Enjoy:
- Remove from the air fryer and serve hot.
These steps ensure a delicious, crispy garlic bread that’s ready in no time!
Tips for Making the Perfect Garlic Bread
- Choose the Right Bread: French baguette or Italian bread are best because they get crispy without becoming too hard.
- Spread the Butter Evenly: This ensures every bite is flavorful.
- Don’t Overcrowd the Air Fryer: The bread needs space for the air to circulate, which helps achieve that perfect crisp.
- Preheat the Air Fryer: Always preheat to ensure even cooking.
Variations to Try
Why settle for plain garlic bread when you can experiment? Here are some delicious variations:
- Cheesy Garlic Bread: Sprinkle mozzarella or Parmesan cheese on top before cooking.
- Herb-Infused Garlic Bread: Add basil, oregano, or thyme to the butter mixture.
- Spicy Garlic Bread: Mix in a pinch of red pepper flakes for a kick of heat.
- Garlic Knots: Use the same mixture but twist the dough into knots for a fun twist.
Each of these variations adds a new flavor profile to your traditional garlic bread, making it versatile enough for different occasions.
How to Store and Reheat Garlic Bread
If you have leftover garlic bread, don’t worry! You can store it:
- In the Fridge: Wrap the bread in foil or place it in an airtight container for up to 3 days.
- In the Freezer: Freeze slices for up to 3 months. Just make sure to wrap them individually in plastic wrap and then store them in a freezer bag.
To reheat, pop the slices back in the air fryer at 350°F (175°C) for 2-3 minutes, or until warm and crispy.
Serving Suggestions
Garlic bread pairs wonderfully with:
- Pasta Dishes: Like spaghetti, lasagna, or fettuccine Alfredo
- Soups: Particularly tomato soup, minestrone, or creamy mushroom soup
- Salads: Such as Caesar salad or a fresh garden salad
It’s the perfect side to elevate your meal, turning a simple dish into a delightful feast.
Health Benefits of Air Frying
Using an air fryer has several benefits:
- Less Oil, Fewer Calories: Air frying can reduce the amount of oil needed, making it a healthier alternative.
- Retains More Nutrients: Cooking at lower temperatures can help preserve the nutrients in your food.
- Faster Cooking Time: You save time and energy compared to traditional frying or baking.
Common Mistakes to Avoid
- Not Preheating the Air Fryer: This can lead to uneven cooking.
- Using Too Much Butter: It can make the bread greasy instead of crispy.
- Overcrowding: Placing too many slices in at once can result in uneven crispiness.
- Skipping the Salt: Even a pinch of salt brings out the flavors beautifully.
Frequently Asked Questions (FAQs)
1. Can I use any type of bread for this Air Fryer Garlic Bread Recipe?
Yes, you can use any type of bread, but thicker slices, like a baguette or Italian loaf, work best for the perfect texture.
2. How long should I cook garlic bread in the air fryer?
It usually takes around 5-7 minutes at 350°F (175°C). Check the bread after 5 minutes to ensure it doesn’t burn.
3. Can I make the garlic butter mixture in advance?
Absolutely! You can prepare it and store it in the fridge for up to a week.
4. Is there a way to make this recipe vegan?
Yes, simply swap out the butter for a plant-based alternative, and you’ve got yourself vegan garlic bread!
5. Why did my garlic bread come out soggy?
If your garlic bread turned out soggy, it might be due to using too much butter or not cooking it long enough. Make sure to spread the butter mixture thinly and check that the air fryer is preheated.
With this Air Fryer Garlic Bread Recipe, you’re well on your way to enjoying crispy, flavorful garlic bread without the hassle of using an oven. Happy cooking!

