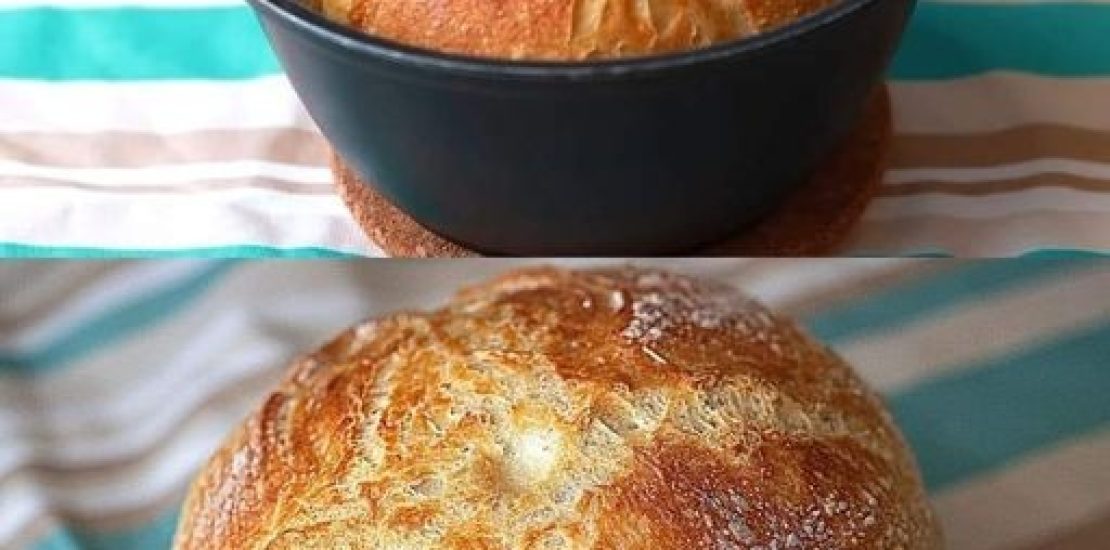
Who doesn’t love the aroma of freshly baked bread wafting through the kitchen?
There’s something magical about baking bread at home, watching it rise, and slicing into that warm, fluffy goodness.
If you’ve ever wondered how to bake bread from scratch, you’re in the right place! Let’s dive into this traditional recipe for homemade bread, step-by-step, and turn your kitchen into a cozy bakery.
Ingredients Overview
Let’s start with the basics. Here’s what you need to bake your very own homemade bread:
- Flour: All-purpose or bread flour works best.
- Yeast: Active dry yeast or instant yeast.
- Water: Warm (not hot) water to activate the yeast.
- Salt: For flavor.
- Sugar: Helps the yeast activate and adds a touch of sweetness.
- Oil or Butter: Adds moisture and richness.
Tip: Always use fresh ingredients, especially the yeast, for the best results.
Tools You’ll Need
Before you begin, gather these tools:
- Mixing bowl
- Measuring cups and spoons
- Wooden spoon or spatula
- Baking pan
- Kitchen towel
- Oven
Having everything ready will make the process smooth and enjoyable.
The Science Behind Bread Making
Did you know that making bread is a bit like a science experiment? When yeast meets warm water and sugar, it starts to ferment, producing carbon dioxide. This gas makes your bread dough rise, creating those lovely airy pockets inside the loaf. It’s almost like magic happening right in your kitchen!
Step-by-Step Traditional Bread Recipe
Step 1: Activate the Yeast
- Combine warm water and sugar in a bowl.
- Add the yeast and let it sit for 5-10 minutes until frothy.
Step 2: Mix the Dough
- Add flour, salt, and oil to the yeast mixture.
- Stir until a shaggy dough forms.
Step 3: Knead the Dough
- Transfer the dough to a floured surface and knead for about 8-10 minutes.
Step 4: First Proof
- Place the dough in a greased bowl, cover with a towel, and let it rise for 1-2 hours until doubled in size.
Step 5: Shape and Second Proof
- Punch down the dough, shape it into a loaf, and place it in a baking pan.
- Let it rise for another 30 minutes.
Step 6: Bake
- Preheat the oven to 375°F (190°C) and bake the bread for 25-30 minutes until golden.
Kneading Techniques
Kneading is essential for developing the gluten structure. It’s like giving your dough a workout! Use the “push, fold, and turn” technique:
- Push: Use the heel of your hand to push the dough away from you.
- Fold: Fold the dough in half towards you.
- Turn: Rotate the dough 90 degrees and repeat.
The Art of Proofing
Proofing is simply allowing your dough to rest and rise. The yeast gets busy eating sugars and releasing gases, causing the dough to expand. A warm, draft-free spot is ideal for proofing.
Pro Tip: If your kitchen is cold, place the dough in the oven (turned off) with a bowl of hot water.
Baking Tips for Perfect Bread
- Preheat Your Oven: This ensures even baking.
- Steam: Place a pan of water in the oven to create steam, giving your bread a crispy crust.
- Check Doneness: Tap the bottom of the loaf – it should sound hollow.
Variations and Flavor Additions
Add a personal touch to your bread with these variations:
- Garlic and Herbs: Mix minced garlic and herbs into the dough.
- Cheese: Add shredded cheese for a savory twist.
- Seeds: Sprinkle sesame or poppy seeds on top for added crunch.
Troubleshooting Common Bread Issues
- Dense Bread? You might have used too much flour or didn’t knead long enough.
- Bread Didn’t Rise? Check the yeast’s freshness or ensure your water wasn’t too hot.
- Crust Too Hard? Try baking at a slightly lower temperature.
Storing Your Homemade Bread
Keep your bread fresh with these tips:
- Store in a bread box or paper bag at room temperature.
- Avoid the fridge – it dries out the bread.
How to Freeze and Reheat Bread
Wrap your bread in plastic wrap and place it in a freezer bag. To reheat, thaw it at room temperature and warm it in the oven for 10 minutes.
Health Benefits of Homemade Bread
Homemade bread is healthier because:
- It contains no preservatives.
- You control the ingredients.
- It’s rich in nutrients like fiber, protein, and vitamins.
Frequently Asked Questions
Can I use whole wheat flour instead of all-purpose flour?
Yes, but the texture will be denser. Try a half-and-half mix to start.
How long does homemade bread last?
It stays fresh for about 3-4 days at room temperature.
Why is my bread dough sticky?
Slightly sticky dough is normal. Add a little more flour if it’s too sticky to handle.
Can I add fillings like nuts or dried fruits?
Absolutely! Knead them into the dough during the initial kneading process.
Do I need a bread machine?
No, this recipe is perfect for making bread by hand.
Conclusion
Baking homemade bread is a rewarding experience that fills your home with warmth and love. It may seem daunting at first, but with this traditional recipe, you’ll be crafting delicious, fluffy bread in no time. So, why not give it a try today?

